Introduction
Recording your first song can be one of the most exciting experiences in music. Whether you’re an aspiring artist, producer, or just experimenting with sound, knowing how to record a song properly makes a huge difference in quality and creativity. With the right tools, environment, and workflow, you can create a professional track from home or in a studio. This guide walks you through every essential step—from setup to mastering—with practical tips and expert advice.
Understanding the Basics of Song Recording
Before you press record, it’s vital to understand the core process of song recording. Every great track begins with a clear concept, preparation, and technical knowledge. The recording process involves capturing sound using microphones, interfaces, and software, but true quality comes from planning and precision.
Knowing how to record a song means more than just hitting a button—it’s about crafting sound that expresses emotion and clarity. A well-recorded song will sound crisp, balanced, and ready for mixing or mastering later.
Preparing Your Space for Recording
Your recording environment plays a major role in sound quality. Even with professional equipment, poor acoustics can ruin a take.
Choose the Right Room
Select a quiet space with minimal echo and outside noise. Carpets, curtains, and soft furniture help reduce sound reflections. Avoid rooms with hard, reflective surfaces like tile floors or empty walls.
Soundproof and Treat the Room
Use foam panels, diffusers, or DIY alternatives like blankets to control reverb. Treating the space properly ensures the recording captures your voice or instrument naturally, without unwanted background noise.
Organize Your Setup
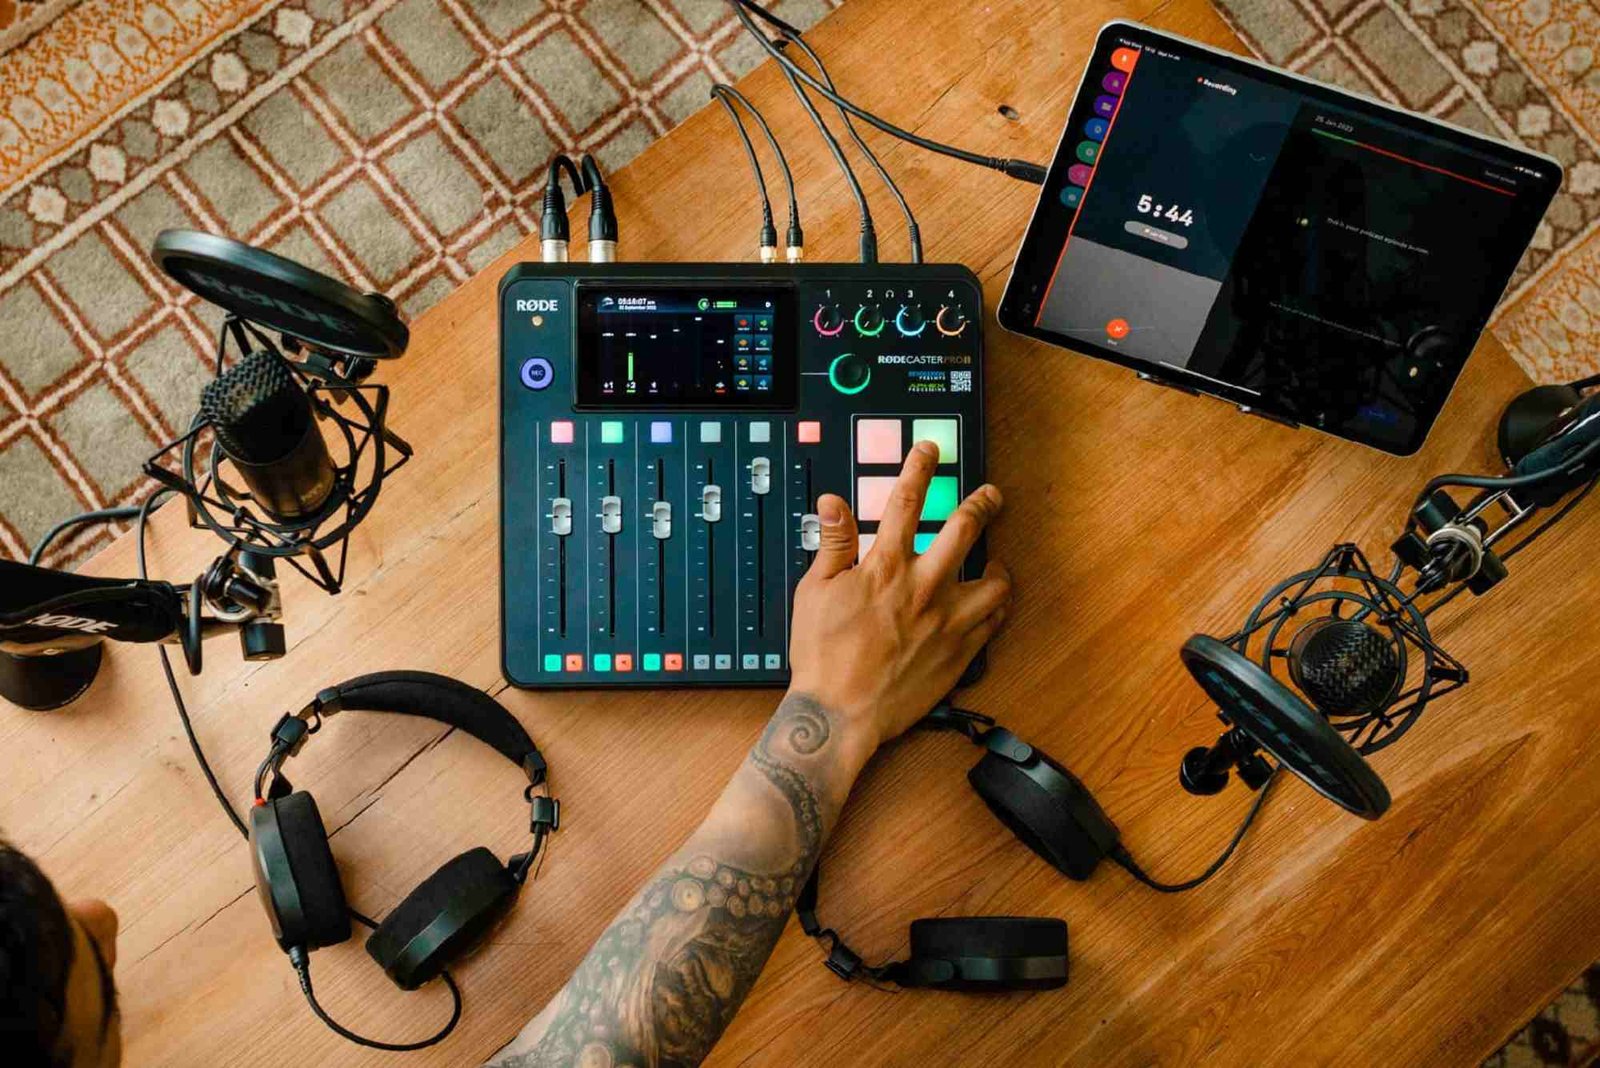
Place your microphone at the right distance from your sound source. For vocals, this is usually 6–8 inches away, with a pop filter between the mic and your mouth. Keep your cables, laptop, and interface within reach to maintain focus and flow during the session.
Choosing the Right Equipment
Good recording gear doesn’t have to be expensive. What matters is knowing what to buy and how to use it correctly.
Microphone
The microphone is your most important tool. Condenser mics capture rich detail, making them ideal for vocals and acoustic instruments. Dynamic mics are more durable and handle loud sounds like drums or guitar amps better.
Audio Interface
An audio interface converts analog signals into digital ones your computer can process. Choose an interface with high-quality preamps, at least two inputs, and compatibility with your recording software.
Headphones and Monitors
Closed-back headphones are essential for recording because they prevent sound leakage. Studio monitors, on the other hand, are perfect for playback and mixing accuracy.
Recording Software (DAW)
A Digital Audio Workstation (DAW) like Logic Pro, Ableton Live, or Pro Tools lets you record, edit, and mix tracks. Most DAWs offer trial versions—experiment to see which fits your workflow best.
Setting Up for the First Recording
Once your equipment and space are ready, it’s time to set up your session.
Connect and Configure
Plug your microphone into the audio interface and make sure your DAW recognizes it. Adjust the input gain so the loudest parts of your performance don’t distort—aim for levels peaking around -6 dB.
Create a New Project
Organize your project by naming tracks clearly (e.g., “Lead Vocal,” “Guitar 1,” “Kick Drum”). Save frequently and back up your files to avoid losing progress.
Check Sound Levels
Do a few test recordings to ensure everything sounds clean. If you hear distortion, lower the gain. If the sound feels dull, reposition your microphone slightly and re-record.
Recording Vocals Like a Pro
Vocals are often the emotional core of a song. Here’s how to get them right.
Warm Up Your Voice
Spend 10 minutes doing vocal exercises before recording. This helps improve pitch control and consistency.
Maintain Proper Mic Technique
Stay at a consistent distance from the mic and use a pop filter to reduce plosives. Record multiple takes—you can later combine the best parts for a polished result.
Capture Emotion, Not Just Sound
Focus on performance and emotion rather than perfection. A raw but expressive take often feels more authentic to listeners.
Recording Instruments for Clarity and Balance
Each instrument requires a slightly different approach.
Guitar
For acoustic guitars, position the mic near the 12th fret for a balanced tone. For electric guitars, try different mic placements on the amp’s speaker cone until you find the right tone.
Drums
Use multiple mics to capture different parts of the kit—kick, snare, overheads. Ensure they are phase-aligned to avoid thin or hollow sound.
Keyboard and Bass
Record keyboards directly through the interface. For bass, use both a direct input (DI) and a mic on the amp to blend punch and warmth.
Mixing and Editing Your Track
After recording, the next step is mixing—balancing and enhancing the elements of your song.
Clean Up Your Tracks
Remove unwanted noise or silence between takes. Label tracks clearly to keep your project organized.
EQ and Compression
Use equalization (EQ) to shape each instrument’s tone and prevent frequency clashes. Apply compression to control dynamic range and add punch to vocals and drums.
Add Effects Tastefully
Reverb, delay, and chorus can add depth but use them sparingly. Too much can make your mix sound muddy or unfocused.
Pan and Balance
Position instruments in the stereo field to create space and clarity. For example, place guitars slightly left and right while keeping vocals and bass centered.
Mastering for a Professional Finish
Mastering is the final polish before distribution. It ensures your song sounds balanced on all playback systems—from headphones to car speakers.
Check Overall Loudness
Compare your track’s loudness to professional songs in the same genre. Avoid excessive limiting—it can crush dynamics and make your track sound harsh.
Export Correctly
Export your mastered song in high-quality formats like WAV or FLAC. Save another version in MP3 for sharing online.
Common Mistakes to Avoid When Recording
Even experienced artists make mistakes that affect sound quality.
Avoid recording in noisy environments or skipping sound checks. Don’t overuse effects or rely solely on presets. Always back up your files after each session. Remember—patience and consistency are key to learning how to record a song effectively.
Expert Tips for Better Song Recordings
-
Record during quiet hours to minimize background noise.
-
Always keep spare cables and storage drives handy.
-
Experiment with mic placement—it changes tone dramatically.
-
Record multiple takes and layer them for a fuller sound.
-
Trust your ears more than visual meters.
FAQs
How can I record a song at home professionally?
You can record a professional-quality song at home by using a good condenser mic, an audio interface, and a treated recording space.
Do I need expensive equipment to record music?
No. You can achieve great sound with affordable gear and proper setup. Focus on technique over price.
What’s the best software for recording songs?
Popular choices include Ableton Live, Logic Pro, FL Studio, and Pro Tools. Each has features for beginners and pros alike.
How do I record vocals clearly?
Use a pop filter, stay at a consistent mic distance, and record multiple takes. Edit out noise before mixing.
How long does it take to record a song?
Depending on complexity, recording a full song can take anywhere from a few hours to several days.
Learning how to record a song is a journey that combines creativity, patience, and skill. The more you record, the more refined your sound becomes. Whether you’re in a studio or at home, focus on capturing genuine performances and clean audio.
If you’re ready to take your music to the next level, explore detailed guidance at How To Record and How To Record A. For further insights into audio recording and production techniques, Read more on en.wikipedia.org.


